Still depending on traditional routers for uninterrupted wifi connectivity? If yes, then you must surely be facing various issues especially that of dead zones and intermittent internet connection. So do you want to get rid of all such issues? If yes, then Netgear Orbi setup can be the perfect choice. Orbi is not like regular routers as it fills your entire abode with complete wifi signals. The orbi system is also scalable. It means by just adding more orbi satellites you can extend the coverage as per your requirement. To know about the setup details keep reading.
Setup Through Orbi App
One of the easiest and quick Netgear orbi setup methods is using the Orbi application. Follow these quick steps one by one:
- First take any of your smart devices preferably choose a cell phone as it is more convenient.
- Now, install the orbi application. Get it for free from Google play store or an App store. You can also fetch it from orbi-app.com.
- Moving further, open the application. Login into your account. New user? First create MY Netgear account.
- As you do so, click on Set up an Orbi.
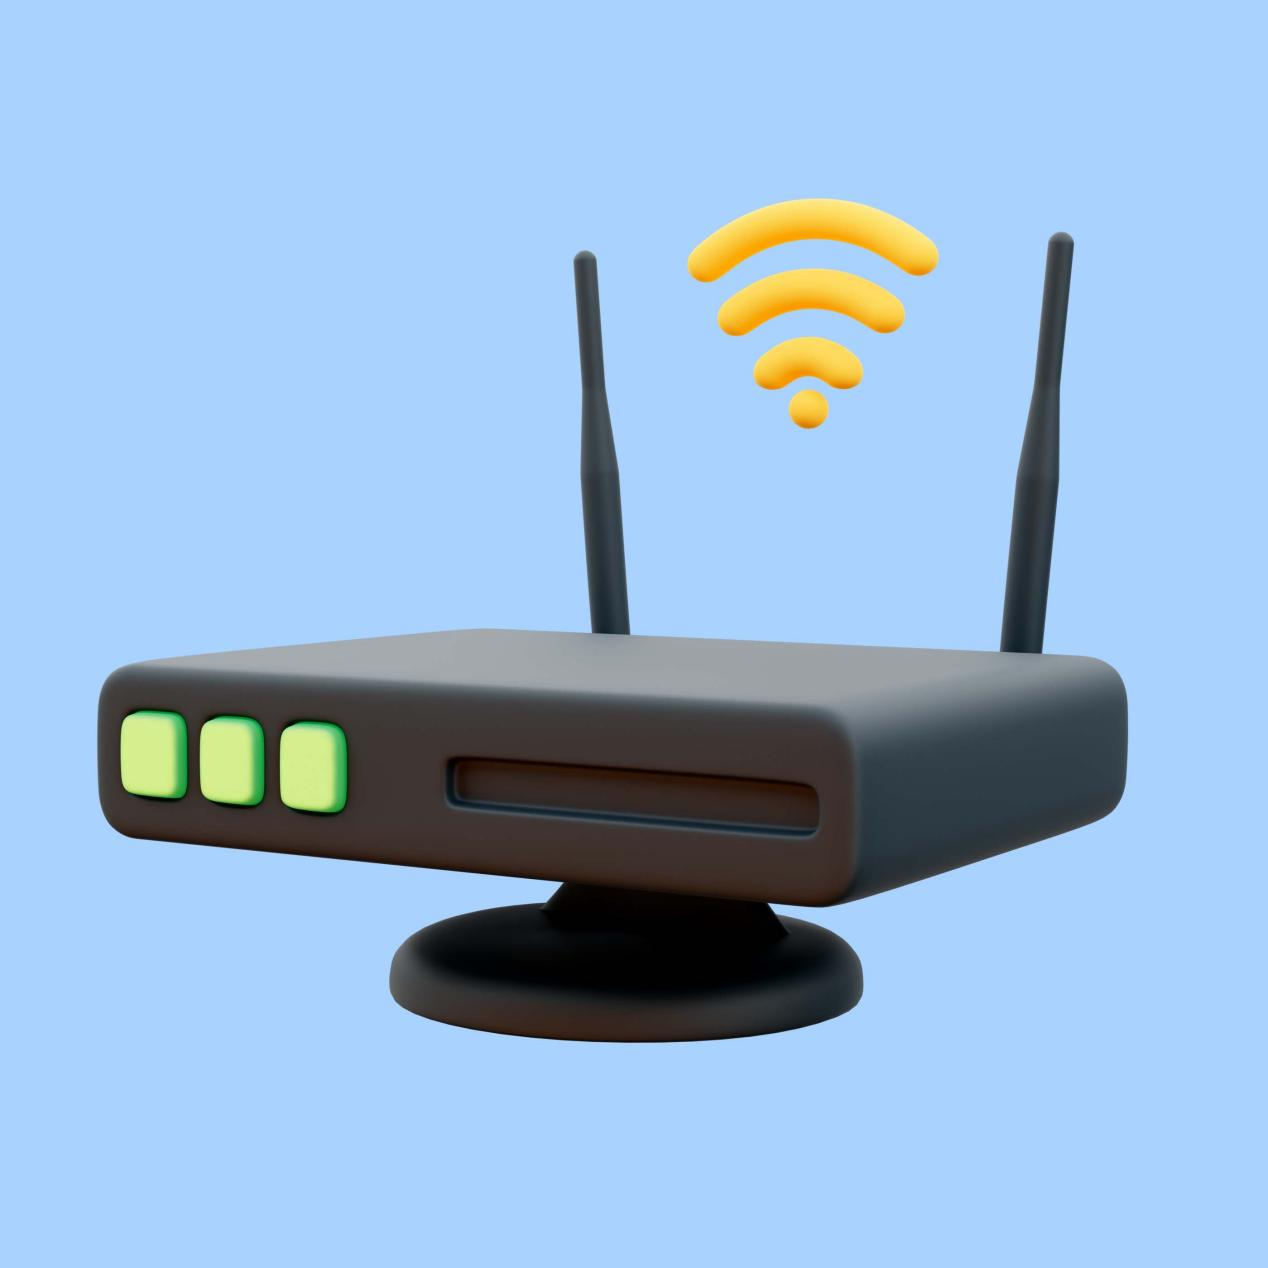
- You get an option of Enable camera and scan. Click on it. You might be prompted to give camera permission, so allow it.
- Now scan the QR code with your device. It is usually on the bottom panel. Thereafter hit Continue.
- It’s time to withdraw your existing modem and router (if any). As you do so, tap on the on-screen option which is I Unplugged everything.
- In this step of Netgear Orbi Setup, you need to build a connection between two most important devices with the help of an Ethernet cable. These are: modem and Orbi.
- Once done tap on ethernet is connected option.
- Finally, you now have to activate the Orbi. For this you get a power adapter with the package contents. After activation, wait for the LED to stop flickering. As it happens, confirm the same by tapping on your device’s screen.
- Moving forward, you need to wait till the Orbi’s power LED turns into a bright white light. As it turns white, confirm the same to the application and then hit Continue.
- Finally, by obeying the instructions that appear on the screen you can finish the Netgear orbi setup.
Installation Through Web Browser
Don’t want to use any app for the installation? If yes, no issues as there is an alternative available. The steps for it are as follows:
✓ Disconnect Existing Devices
Begin the Netgear Orbi setup process first by disconnecting your existing modem as well as the router if any. This step is crucial because otherwise you might face complexities midway.
✓ Connect And Power On Orbi
It’s time to connect the host modem to the Orbi. For this you need a properly working ethernet cable. First attach one side of the cable to the ethernet port of the host modem. Second side will go into the yellow ethernet port on Orbi.
Moving forward, bring the supplied power adapter. Take its power pin. Move it to the power port. Thereafter plug it into the wall socket. Turn it on. Initially, the LED will flicker. You need to wait for it to turn white. It can take four to five minutes so patience is the key here. As it turns white, you can move to the next Netgear orbi setup step.
✓ Connect Smart Device To Orbi
Connection to the orbi of your device is important for the setup. To do so just turn on wifi. Input the details as are scribed on the downside of your Orbi. Aren’t able to connect? No issues there is one other option also. It is using an ethernet cable for direct connection.
✓ Activate A Web Browser
On the same device now open an internet browser. Want recommendations? Use google chrome, firefox, safari, edge or internet explorer will also work perfectly.
Move to the browser’s URL bar. Fill up 192.168.1.1. Push enter key. Didn’t load the page? Use orbilogin.net as an alternative.
✓ Follow The Prompts
As you successfully receive an entry to Netgar Orbi setup page, agree to license conditions. Tap Next. Finally begin to follow the prompts as they appear on your screen. Remember for smooth working of your orbi, firmware updates should not be pending. So before closing the setup window look for the updates. If found, install them then and there.
Placement Strategies
As the setup is over, your main agenda now should be to place the Orbi strategically. As placement plays a very important role in how your network performs. For uninterrupted connectivity, avoid placing the orbi router as well as its satellites nearby to the electrical and metal items. Common culprits are microwaves, ovens, cordless phones, refrigerators, security cameras, baby monitors, fish tanks, aluminium doors and similar things.
Moving further the distance between the Orbi router and its satellites should be such that they are able to communicate freely with each other. Next, keeping the Orbi in a box or in a corner is also a big No. Place it in the center, on a top surface like shelves and enjoy seamless connectivity.