how to apply epoxy tile grout
Applying epoxy tile grout can seem like a daunting task, but with the right guidance and tools, you can achieve a professional finish. Epoxy grout is a popular choice for its durability, stain resistance, and ease of cleaning. Whether you’re a DIY enthusiast or considering hiring an epoxy contractor near you, this guide will walk you through the steps to successfully apply epoxy tile grout.
Benefits of Epoxy Grout
- Durability: Epoxy grout is less likely to crack or shrink over time.
- Stain Resistance: Its non-porous nature prevents it from absorbing stains.
- Ease of Maintenance: It is easy to clean and maintain, making it perfect for high-traffic areas.
Preparing for the Job
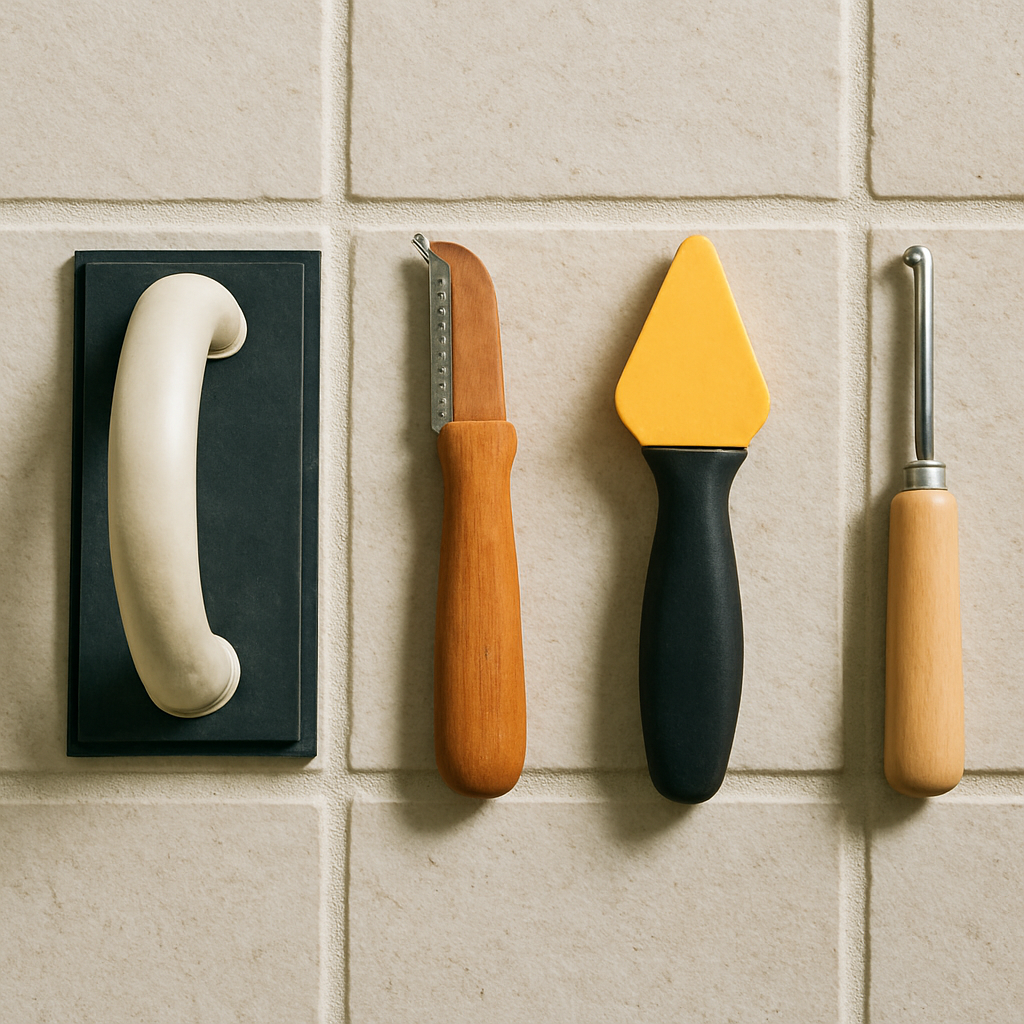
Before you start, gather all necessary tools and materials. This includes:
- Epoxy grout kit
- Grout float
- Grout sponge
- Bucket
- Mixing paddle
- Gloves
- Safety goggles
- Cleanup materials (e.g., water and vinegar solution)
Step-by-Step Guide to Applying Epoxy Grout
 Step 1: Prepare the Surface
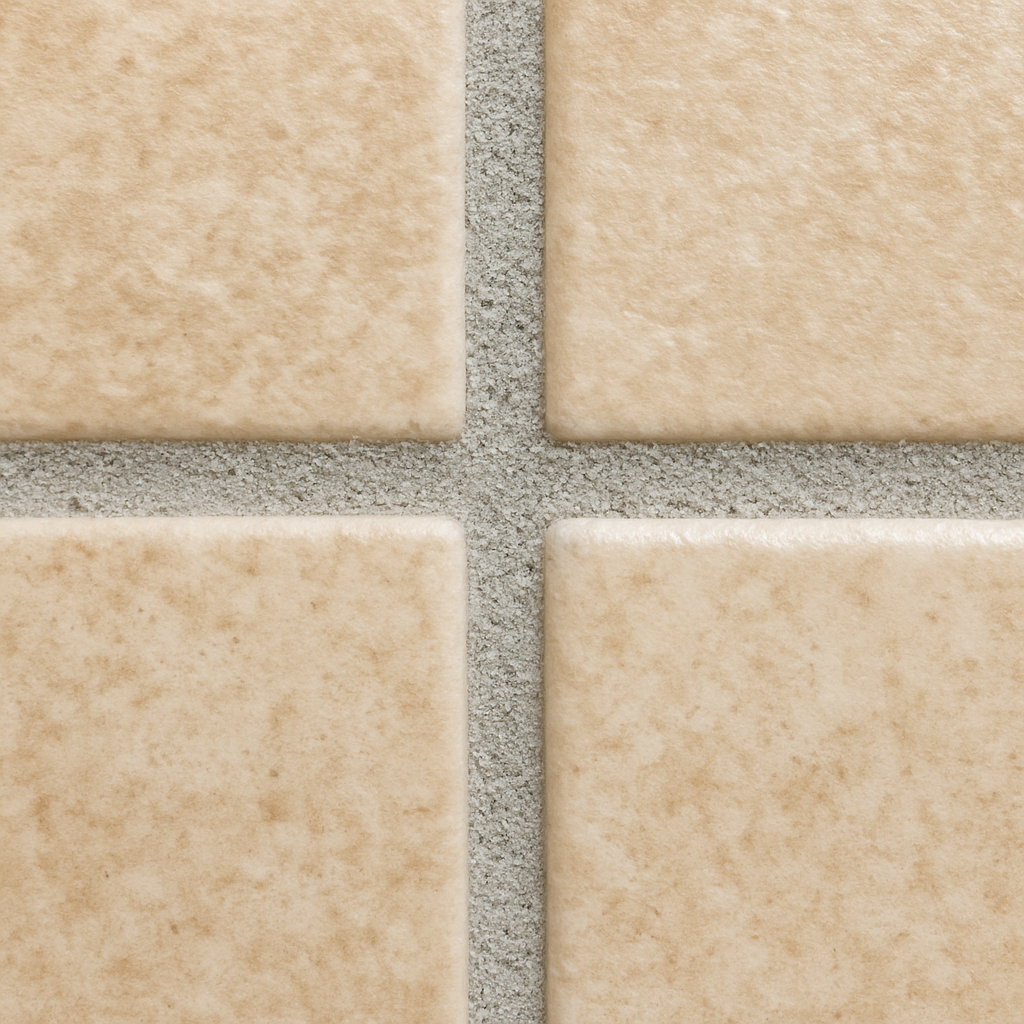
Ensure the tiles are clean and dry before applying the grout. Remove any dust, debris, or old grout from the joints. This will ensure better adhesion and a cleaner finish.
Step 2: Mix the Epoxy Grout
Follow the manufacturer’s instructions to mix the epoxy grout. Typically, you will combine the resin and hardener components, stirring them thoroughly until you achieve a consistent mixture. Use a mixing paddle for best results. It’s crucial to mix only what you can use within the working time specified, as epoxy grout sets quickly.
Step 3: Apply the Grout
Using a rubber grout float, apply the grout at a 45-degree angle, pressing it firmly into the joints. Work in small sections to ensure the grout doesn’t begin to set before you can finish smoothing it. Ensure the joints are completely filled, and remove any excess grout from the tile surface immediately.
Step 4: Clean the Tile Surface
After the grout begins to set, usually within 20-30 minutes, use a damp sponge to clean the tile surface. Rinse the sponge frequently to avoid spreading grout residue. Be careful not to remove grout from the joints during this process.
Step 5: Final Cleaning
Once the grout has fully cured, typically after 24 hours, perform a final clean-up with a water and vinegar solution to remove any haze left on the tiles. This will give your tiles a polished finish and ensure the grout lines are clean.
Tips for Successful Application

- Work in Sections: Due to the fast-setting nature of epoxy grout, it’s best to work in small sections to manage the application and cleaning processes effectively.
- Maintain a Consistent Mixture: Ensure that each batch of grout you mix is consistent in color and texture to maintain uniformity across the tiled surface.
- Use Protective Gear: Epoxy grout can be harsh on the skin and eyes, so wearing gloves and safety goggles is essential during the application process.
Choosing an Epoxy Contractor
If you’re not confident about tackling the job yourself, hiring a professional epoxy contractor is a wise choice. Look for reputable epoxy companies in Dubai or search for an “epoxy contractor near me” to find experienced professionals who can deliver a high-quality finish.
Factors to Consider
- Experience: Choose a contractor with a proven track record in tile epoxy work.
- Reviews and References: Check online reviews and ask for references to assess the contractor’s reliability and quality of work.
- Cost Estimates: Get multiple quotes to ensure you receive a fair price for the services offered.
Conclusion
Epoxy grout application requires precision and patience, but the results are well worth the effort. With its durability and aesthetic appeal, epoxy grout can transform your tiled surfaces, ensuring they remain beautiful and functional for years to come. Whether you decide to DIY or hire a professional, understanding the process will help you achieve the best possible outcome for your tile project.
