Tips for Successfully Tiling Large Format Tiles
Tiling large format tiles can seem daunting, but with the right preparation and techniques, it can be a rewarding DIY project. Whether you’re planning to tile a wall or a floor, these large tiles can create a sleek, modern look that’s both stunning and durable. In this guide, we’ll walk you through the essential tips and tricks for tiling with large format tiles to ensure a smooth and successful installation.
Preparing Your Surface
Proper preparation is key to any successful tiling project. Large format tiles require a flat, level surface to prevent breakage and ensure a professional finish.
Assessing the Substrate
Start by assessing the substrate or the surface you’ll be tiling. It should be clean, dry, and free of any debris. A perfectly flat surface is essential, as large tiles won’t conform to dips and bumps like smaller tiles might.
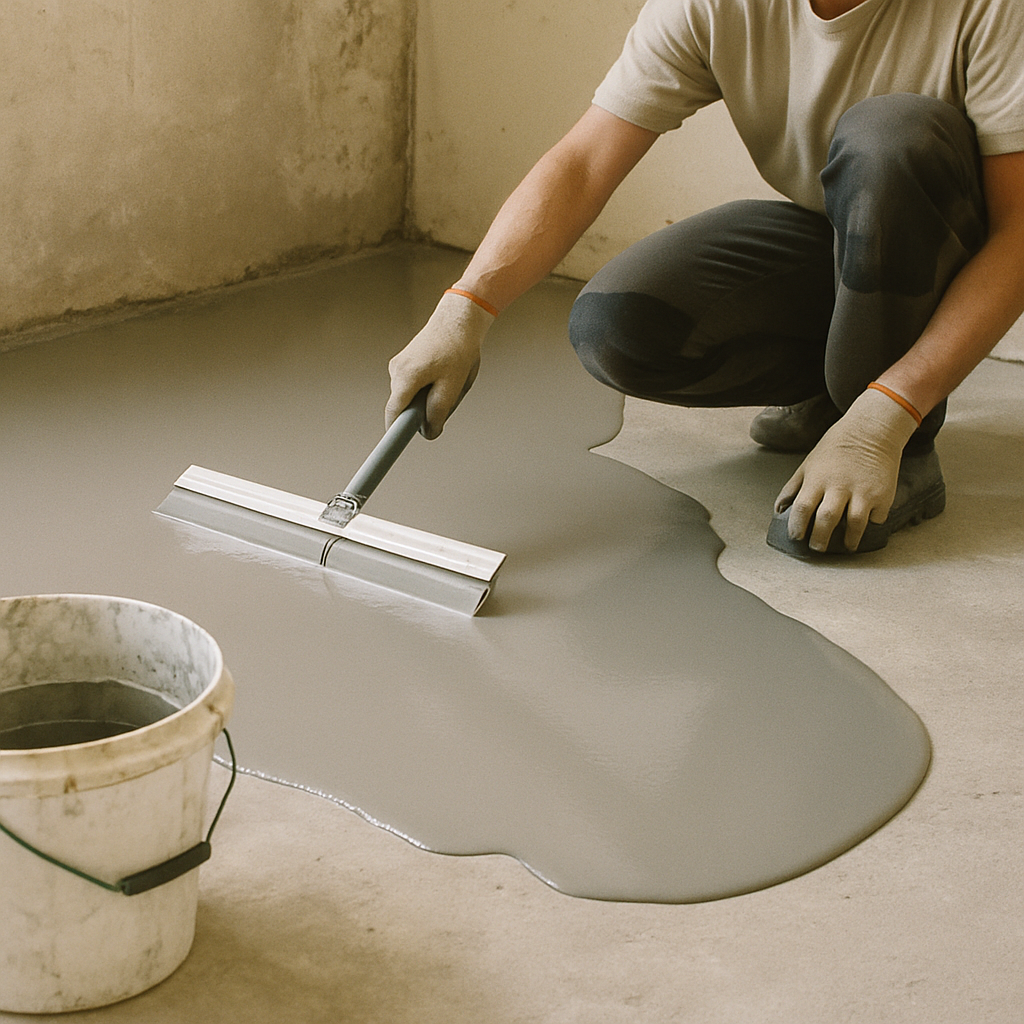
Leveling the Surface
If your surface isn’t perfectly flat, you’ll need to level it. This can be done using a self-leveling compound, which fills in low spots and creates an even base for your tiles.
 Waterproofing
For areas exposed to moisture, like bathrooms, apply a waterproof membrane to protect your substrate from water damage.
Choosing the Right Tools and Materials
The right tools and materials can make a world of difference when tiling large format tiles.
Mortar Selection
For large tiles, opt for a medium-bed mortar, which can support the weight of the tiles and ensure strong adhesion. Make sure it’s suitable for both the tile and the substrate material.
Tile Spacers and Leveling Systems
To maintain consistent spacing and prevent lippage (uneven tile edges), use tile spacers and a tile leveling system. These tools help keep tiles at the same height, making your finished project look polished.
Cutting Tools
Given their size, cutting large format tiles requires precision. A wet saw is recommended for straight cuts, while a tile nipper can handle smaller cuts or adjustments.
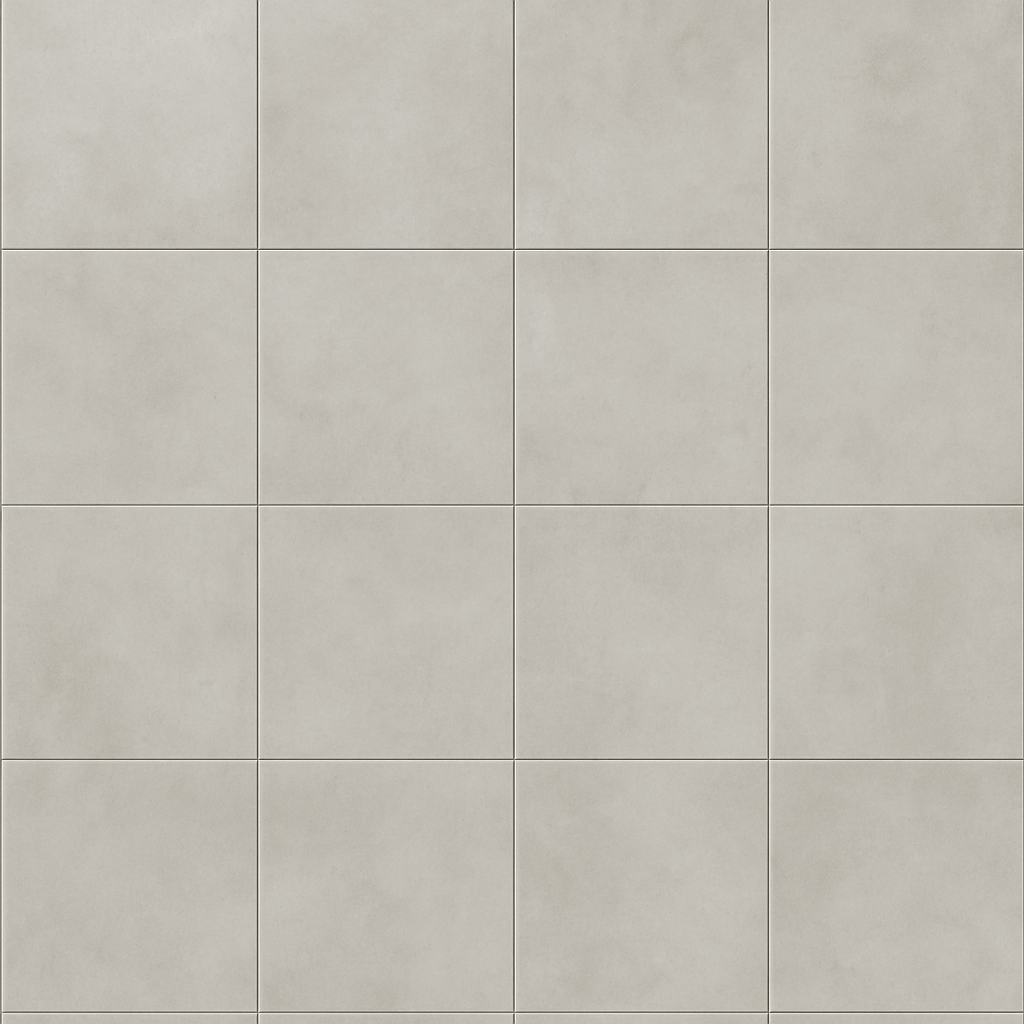
Laying Large Format Tiles

Now that your surface is prepared and you have the right tools, it’s time to start laying your tiles.
Dry Laying Tiles
Before applying any adhesive, dry lay your tiles on the floor or wall to plan your layout. This helps you visualize the final look and make necessary adjustments, like centering tiles or avoiding small cuts at the edges.
Applying Mortar
When you’re ready to start tiling, mix your mortar according to the manufacturer’s instructions. Use a notched trowel to spread the mortar evenly on the substrate. For better adhesion, back butter your tiles by applying a thin layer of mortar on the back of each tile before placing it.
Setting the Tiles
Carefully place each tile onto the mortar, using your spacers and leveling system to ensure even spacing and height. Work in small sections, checking regularly with a level to maintain evenness.
Cutting and Adjusting Tiles
As you approach the edges of your wall or floor, measure and cut tiles to fit. Remember to account for grout lines when measuring your cuts.
Grouting and Finishing Touches
Once all tiles are set and the mortar has cured, it’s time to grout.
Choosing Grout
Select a grout color that complements your tiles. For a seamless look, choose a grout color similar to your tile color.
Grouting Process
Mix the grout according to the package directions and apply it with a rubber float, pressing it into the joints. Wipe away excess grout with a damp sponge, being careful not to disturb the grout lines.
Sealing the Tiles
If your tiles or grout are porous, apply a sealer to protect against stains and moisture. Follow the manufacturer’s instructions for application and drying times.
Maintenance Tips for Large Format Tiles
After installation, proper maintenance will keep your tiles looking their best for years to come.
Regular Cleaning
Use a soft mop or cloth and a gentle cleaner to clean your tiles. Avoid harsh chemicals that might damage the grout or tile surface.
Addressing Stains and Scratches
For persistent stains, use a poultice designed for tile surfaces. To prevent scratches, use pads under furniture and avoid dragging heavy items across the floor.
Troubleshooting Common Issues
Even with careful planning, issues can arise. Here’s how to address some common problems:
- Lippage: Use a leveling system during installation to prevent uneven tiles.
- Cracks: Ensure your substrate is level and your tiles are properly supported to avoid cracking.
- Loose Tiles: If a tile becomes loose, it may not have adhered properly. Remove it, clean the area, and reapply with fresh mortar.
By following these tips and techniques, you can successfully install large format tiles that enhance the beauty and functionality of your space. With patience and attention to detail, your tiling project can transform any room into a stunning, modern environment.
